 Want to create your own Circle of Love? This is a step by step process to show you how to make one of your own. These are instructions for how I did the one shown, but you can do one however you want. To begin, gather your materials.
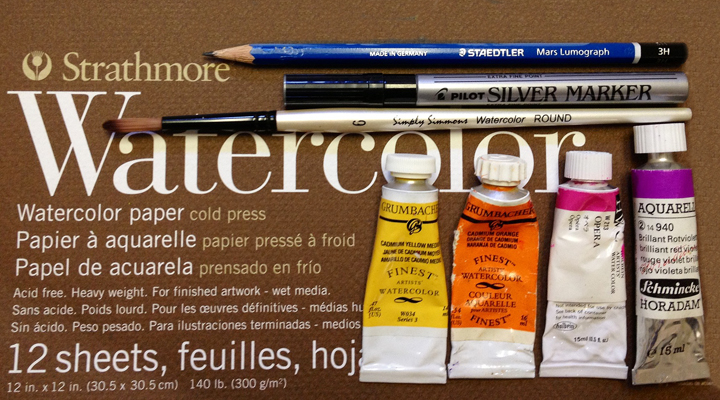
You Will Need the Following:
- watercolor paper
- pencil
- round watercolor brush (size 6)
- yellow, orange, pink and violet watercolors
- Pilot silver extra fine felt pen
- scissors
- black felt pen or glittery gel pen
You can see the example of materials in the photograph which I used, but you can use whatever you like.
What Is Your Intention?
When I create larger mandalas I always write an intention on the back of the paper. It focuses the creative energy. I write something like this: “I intend to co-create with spirit a love and healing mandala for…(the issue I am working on.)” With the small circles there is not enough room to write the intention on the back so I just hold the intention in my mind. I ask for my high self to assist me, and I consider this co-creating with spirit. My intention for a Circle of Love is to fill the circle with love, light, healing and all best wishes for whomever receives it.
 Let’s get started
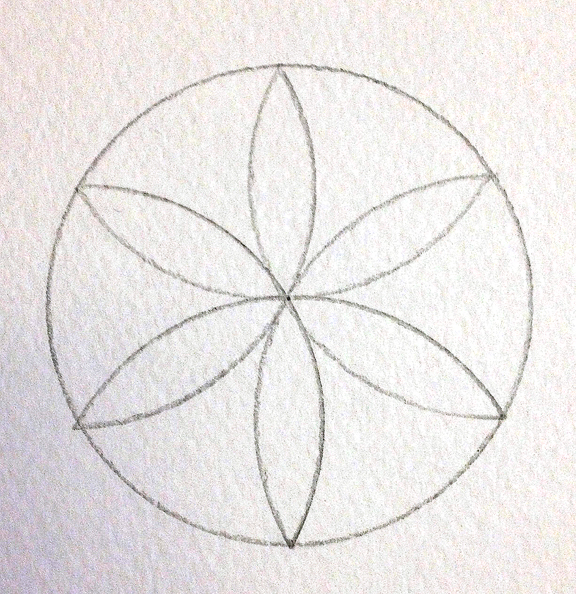
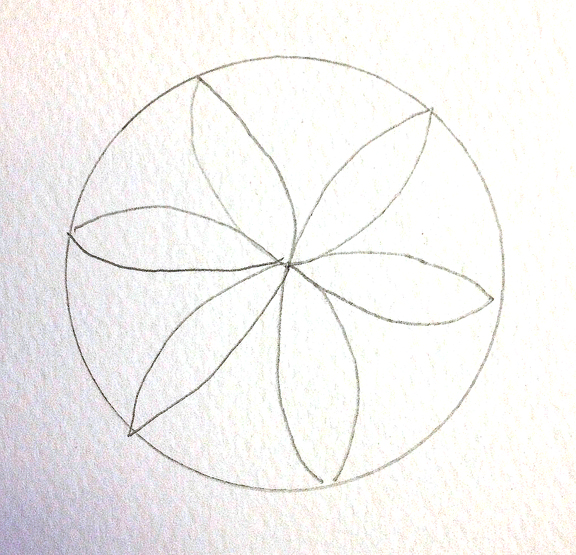
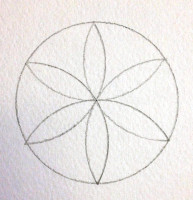
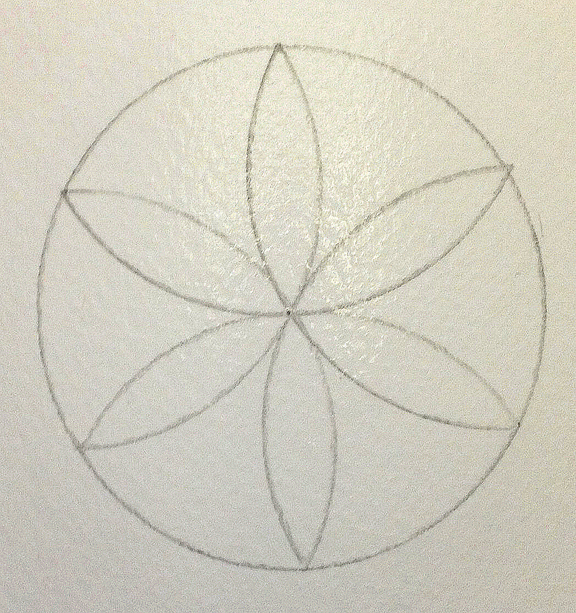
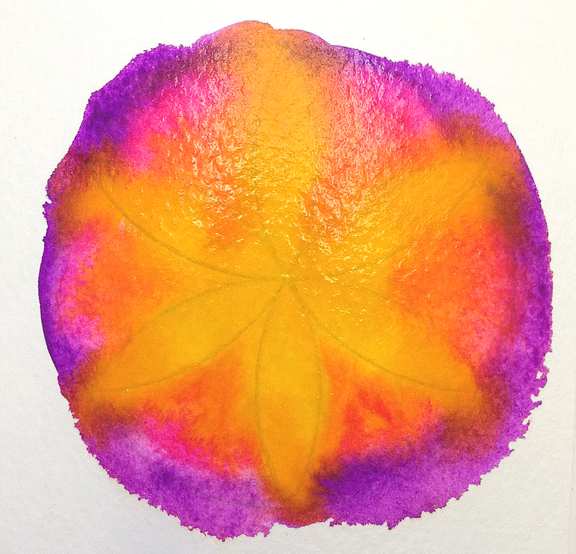
Cut a piece of watercolor paper into a 4″ square. On the square either draw a 6-petal flower with a compass or draw it freehand. Instructions on how to draw it with a compass are in my book and can be downloaded here. It is page 5 of the pdf: CHAPTER 4: Creating a Color Wheel
Next Step is called “Wet on Wet”
With the watercolor brush wet your circle. Go beyond the circle line a little.How much water? Enough so the surface is moist but not swimming in water.
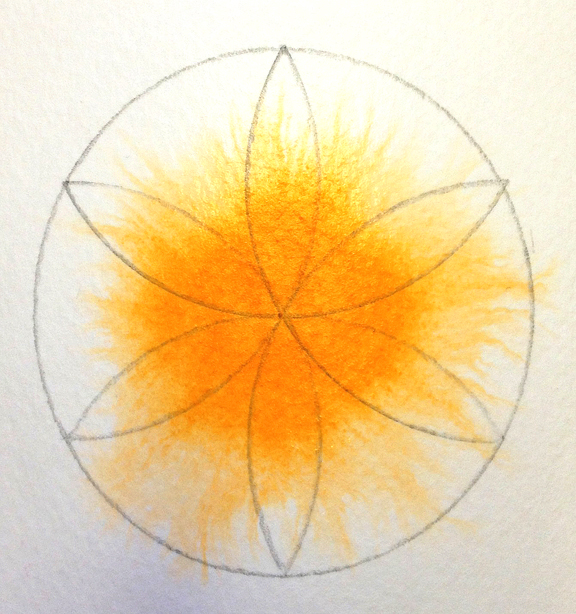
Next dab your brush in your moistened yellow watercolor pigment and apply it to the center of the circle, letting it spread with the water. Just dot the color. It will spread on its own if the surface is moist enough.
Add Orange, Pink and Violet
While it is still wet, now dot some orange on top of the yellow. Cadmium orange really spreads! Ready for more color?
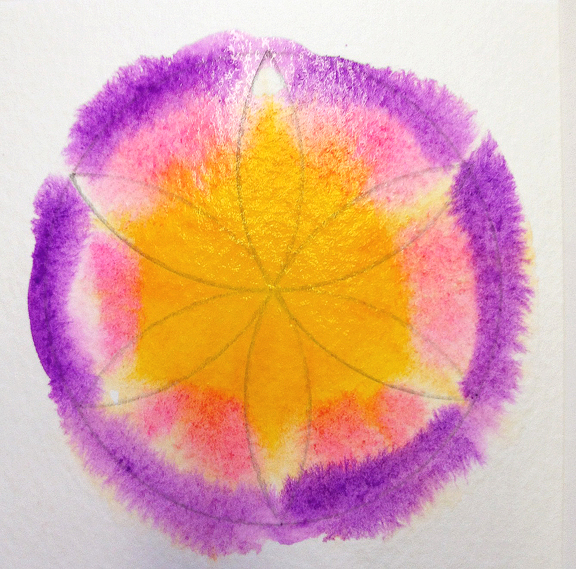
Dot some pink on the still-moist inside of the circle and some violet around the edge of the circle. If it spreads beyond the circle that’s OK we’re going to eventually cut out the circle.
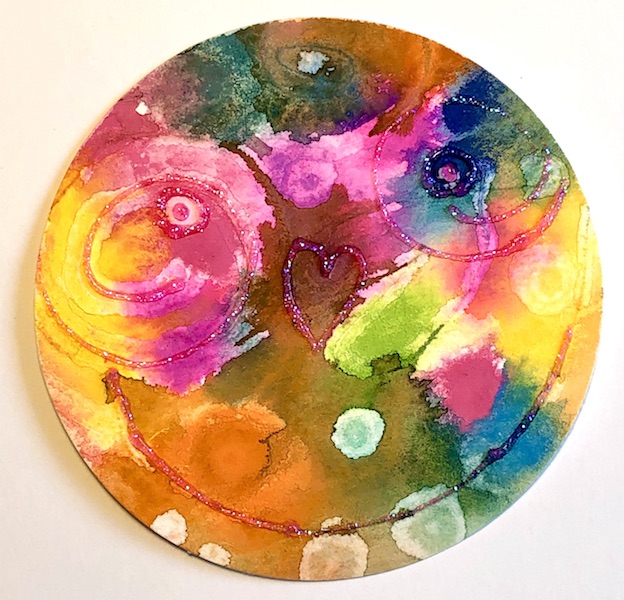
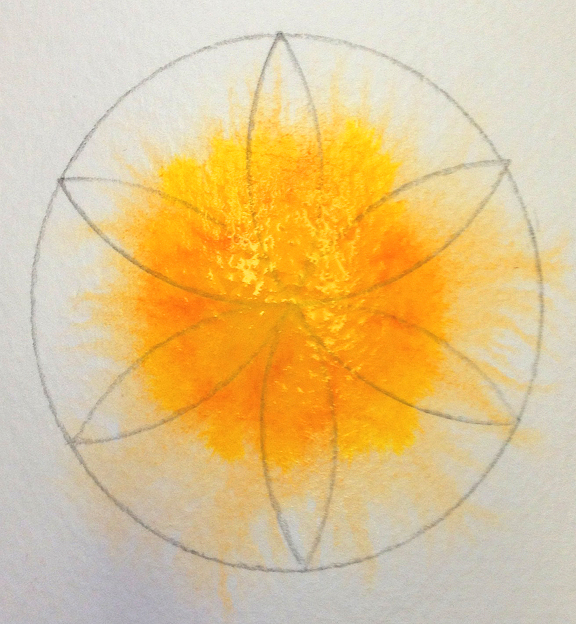
Now, go for it and repeat the process of applying color. Add dots of each color, little by little, until you get the intensity desired.
I like it intense!
Let it Dry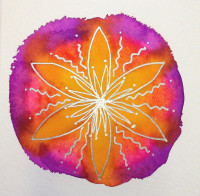

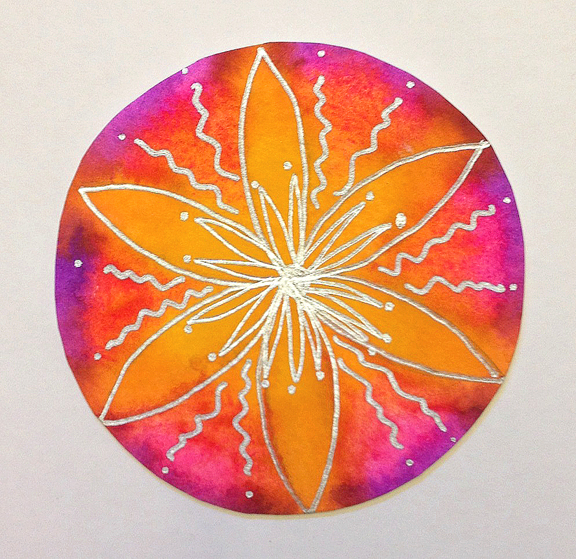
Let your circle dry. To speed up the drying process, place the circle in the sun or dry it with a hair dryer. Once it is thoroughly dry, get your silver felt pen ready. Over the top of the lines you had drawn with pencil, which should be visible through the watercolor paint, draw the petals with the silver pen. Draw more petals in the inside of the star flower. Draw some squiggly lines in between the petals and add some dots of silver.
Cut Out Your Circle
Carefully cut out your circle. What do you think, want to give it to someone who needs some bright energy? And, are you ready to make another? How about changing colors?
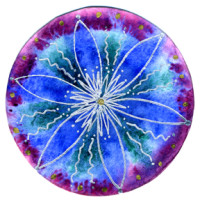 Make another and do it your way.

Have fun and be creative!
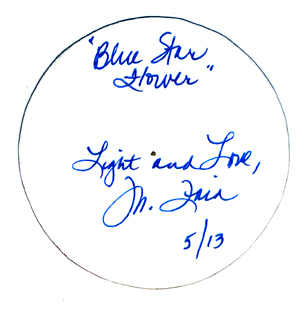
You are finished! But wait, just one more thing. Sign it on the back, date it and title it with a black felt pen or glittery gel pen. That always makes it more fun! Now your Circle of Love is complete.