Let’s go beyond the original blog “How to Make a Circle of Love” https://www.michelefaia.com/blog/how-to-make-a-circle-of-love/and spice the circles up with some mica paint and Stickles glitter glue! And, rather than just one, let’s make several at once.
You Will Need the Following:
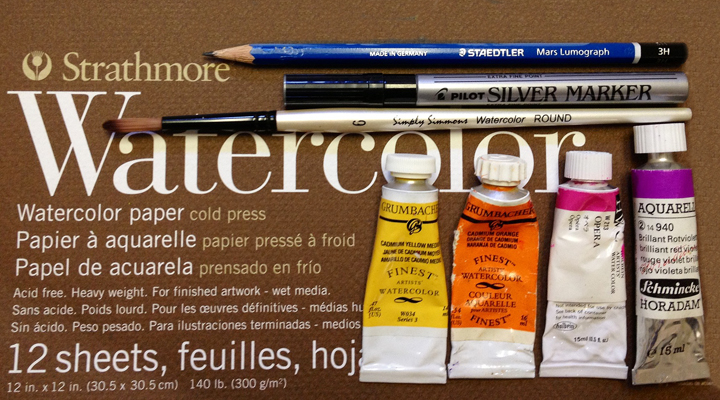
- watercolor paper
- pencil
- round watercolor brush (size 6)
- any color of watercolors you want
- Pen-touch, or Pilot, felt pen in gold, extra fine or fine point (fine point is less
- temperamental!)
- scissors
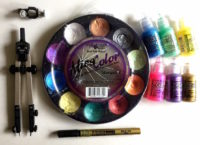
- drawing compass with an adapter (I use the Alvin 702V)
- USA ArtQuest Mica Color palette (my favorite is “Stargazer.”)
- Stickles glitter glue, in your favorite colors

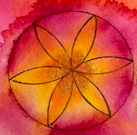
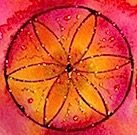
You can see the example of materials I used in the photographs, but you can use whatever you like.
Remember Your Intention
My intention for a Circle of Love is to fill the circle with love, light, healing and all best wishes for whomever receives it. I hold this intention before I begin my Circle. Read further in the previous “How to Make Circles of Love.”
Let’s get started
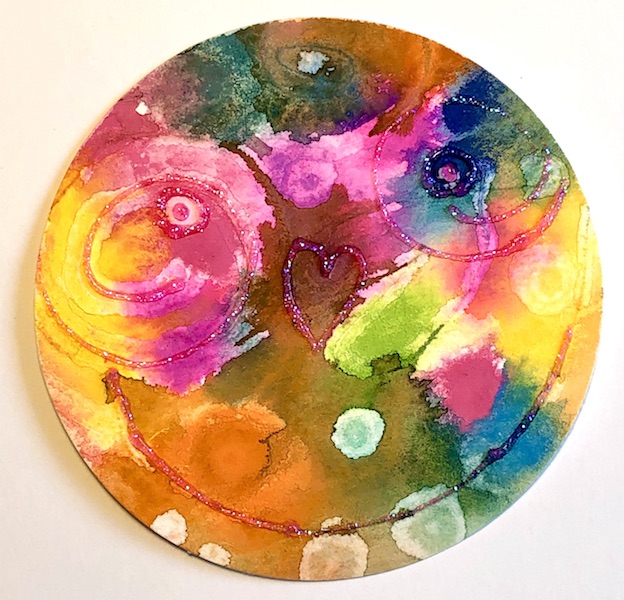
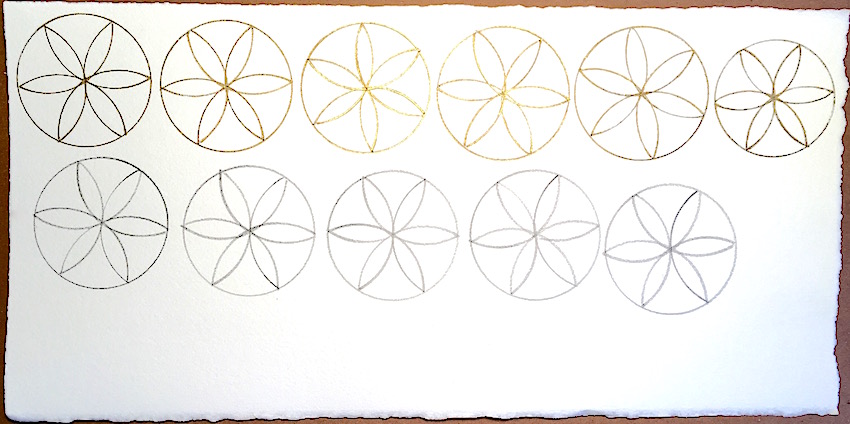
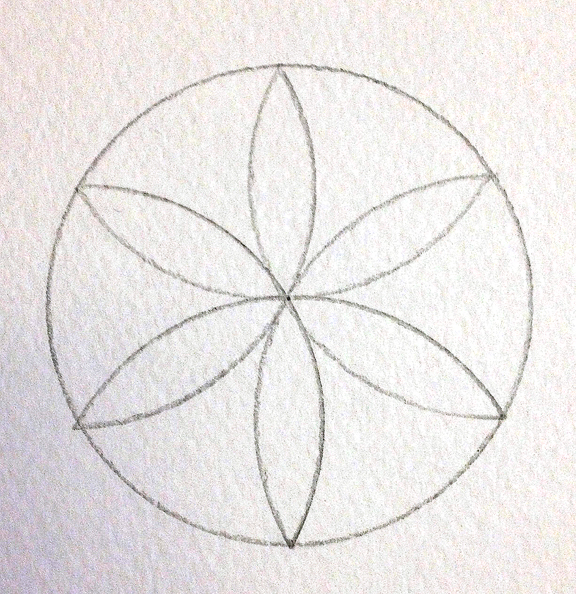
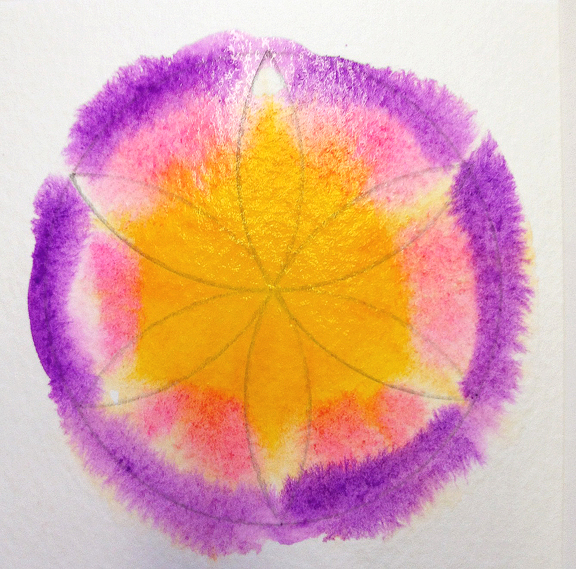
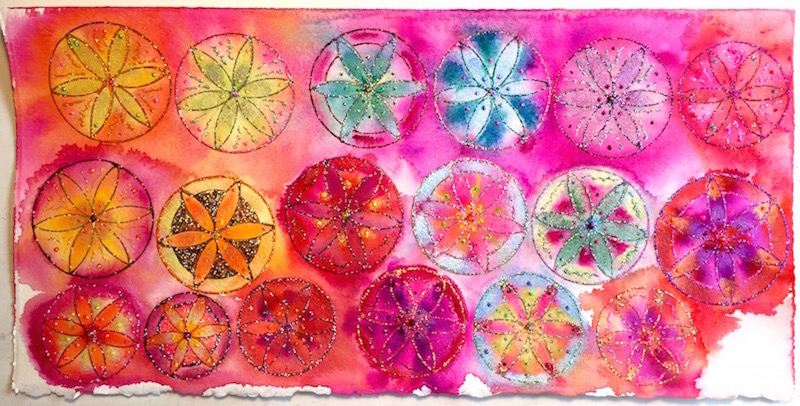
I used a scrap of watercolor paper I had which was 15″ x 7.5″. On that paper I drew several 6-petal flowers with a compass. The first line of circles the compass had the pencil removed, the adapter attached and the gold pen in the adapter. For you, draw as many flowers as you can get on the paper, whatever size you want. Instructions on how to draw the flower with a compass, also called “the seed of life,” are in my first book and can be downloaded here. It is page 5 of the pdf: CHAPTER 4: Creating a Color Wheel.
The reason I use this kind of pen is that it is alcohol based and resists the wet watercolor when it is applied. In that way, I am able to see where I want to apply the Stickles when the watercolor is dry. Other pens will not work in the same way. You could just draw your lines very dark with the compass pencil so the watercolor won’t hide the lines and not have to use the adapter. The second line of circles is drawn with the pencil in the compass.
Painting “Wet on Wet”
With the watercolor brush wet your circles. I wet only the top line of flowers, and then the next line when I am finished painting the first, and so on. Go beyond the circle line a little. How much water? Enough so the surface is moist but not swimming in water.
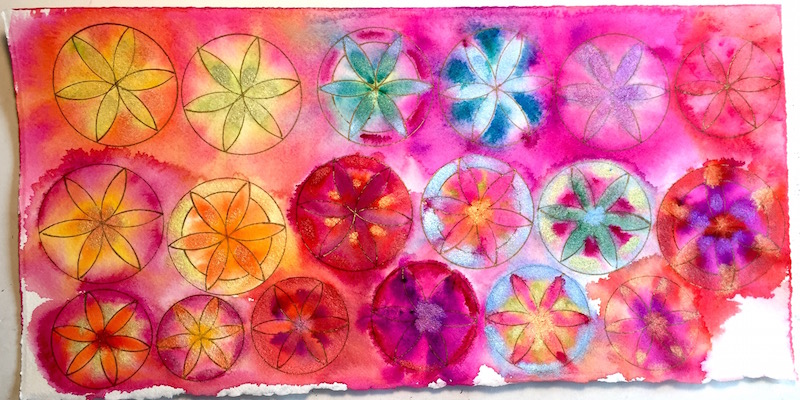
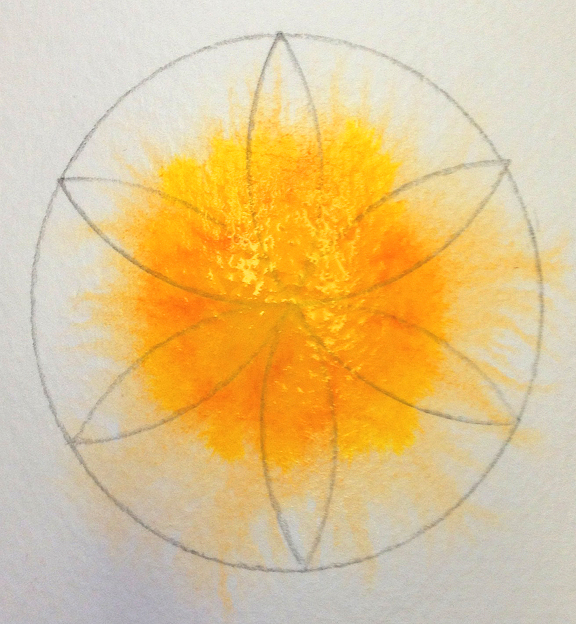
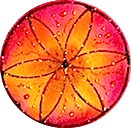
Next, dab your brush in your moistened yellow watercolor pigment and apply it to the center of a circle, letting it spread with the water. Just dot the color. It will spread on its own if the surface is moist enough.
Add other colors
While it is still wet, now dot some orange on top of the yellow. Cadmium orange really spreads! Ready for more color? Dot some pink on the still-moist inside of the circle and some violet around the edge of the circle. If it spreads beyond the circle that’s OK we’re going to eventually cut out the circle. This process is a playful one, have fun! There is no perfection here. And, not only are you allowed to go outside of the lines, you are encouraged to do so!
 Now, go f
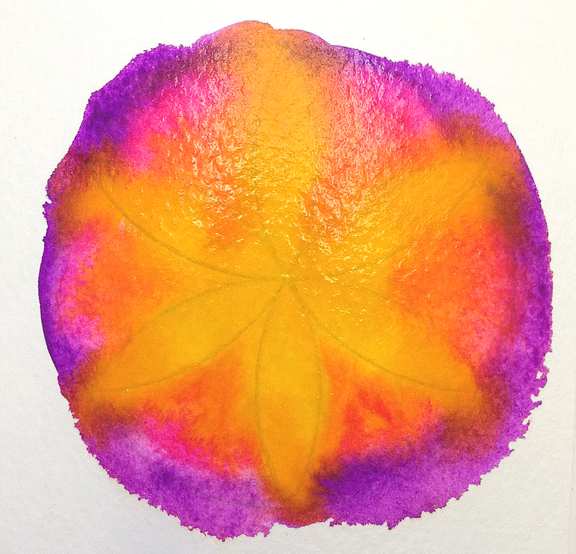 or it and repeat the process of applying color. Add dots of each color, little by little, until you get the intensity desired. I like it intense! One at a time do this for all the circles on the top line of circles. With each circle try a different color combination. They will “bleed” together a bit, but I like that. If they have dried out, add a little more water to the circle.
Adding Sparkle
While a circle is wet, start adding some mica paint from the circular palette, having moistened the color. These colors bleed a little but not a lot. So add how much mica paint you’d like. These colors are very exciting to watch and they electrify the circle.
Let it Dry
 Let your circles dry. To speed up the drying process, place the circle in the sun or dry it with a hair dryer. Once it is thoroughly dry, you are ready to apply Stickles! Over the top of the lines you drew with either the gold pen or the pencil, which should be visible through the watercolor paint, draw the petals with the Stickles. Draw some squiggly lines in between the petals and add dots. Have fun with your decorating! Allow your Stickles to dry. Sometimes, if the Stickles are thickly applied, it may take overnight.
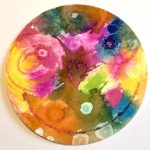
Cut Out Your Circle
Carefully cut out a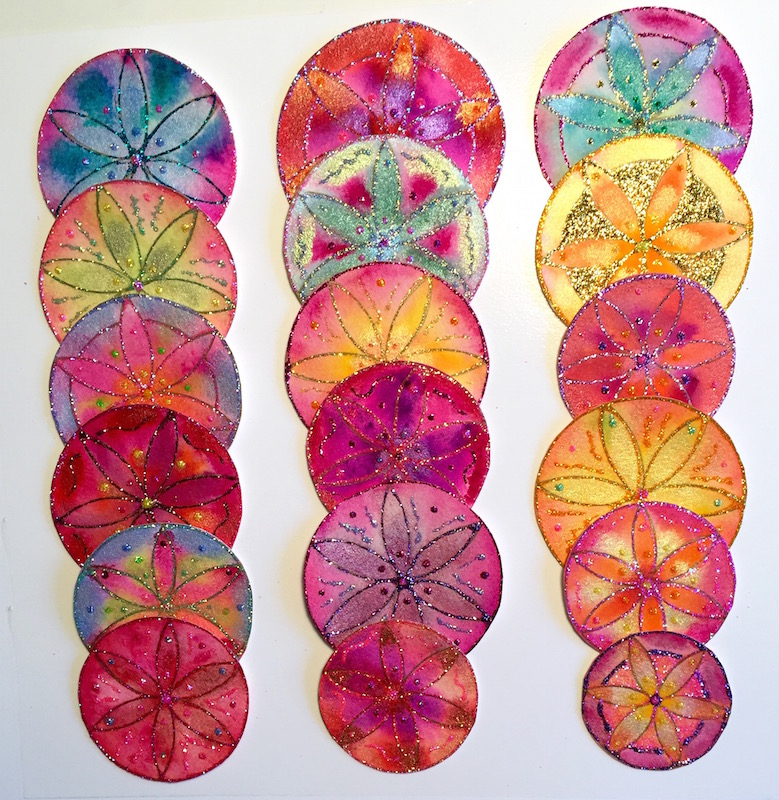 circle. What do you think, want to give it to someone who needs some bright energy? Cut them all out.
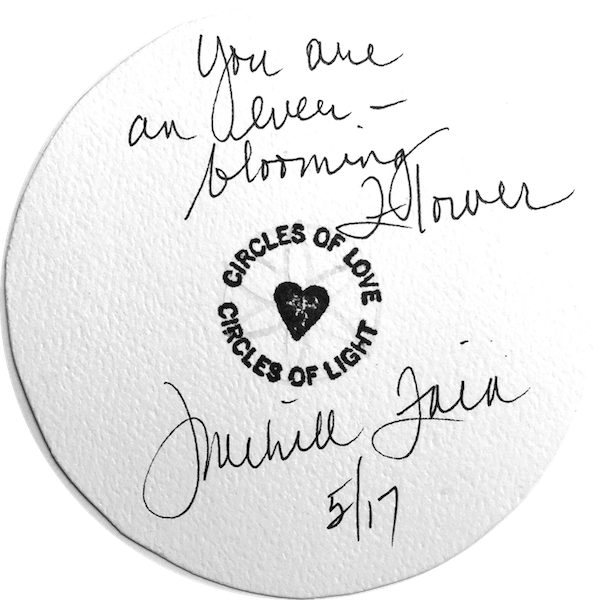
You are finished! But wait, just one more thing. Sign them on the back, date and title them with a black felt pen or glittery gel pen. That always makes it more fun! I like giving mine titles. I stamp them with a stamp my husband designed for me which says: “Circles of Love, Circles of Light.” The Circles of Love are now complete.
Make others and do it your way!
Have fun and be creative!